Access to edit your site’s code, or someone who does it for you
The exact domain where the widget will appear
The domain is mandatory, not optional protection. Eva only answers on the domains you authorize. If the list is empty, the widget works on none of your sites.
In the sidebar go to AI Agents, open your agent and go to the Channels tab.
2
Open the widget
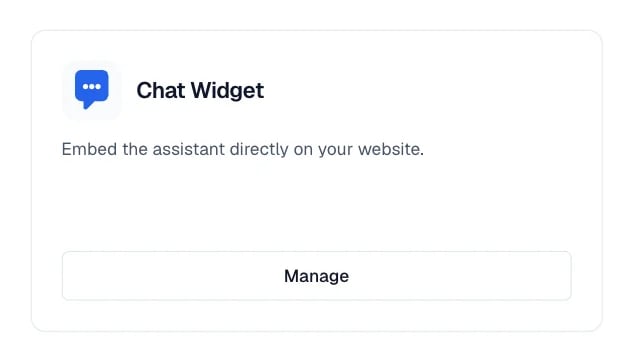
On the Chat Widget card, select Manage.
The widget card inside Channels.
3
Open the Install tab
The authorized domain and the code live there.
The widget screen's two tabs, at the top left.
4
Authorize your domain
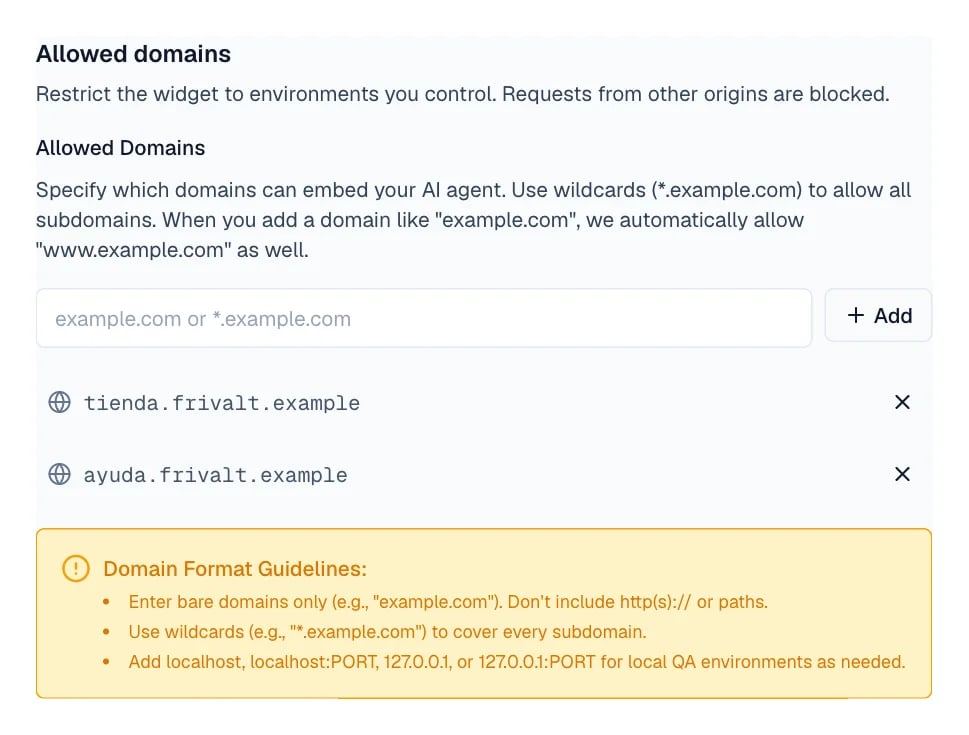
In Allowed domains, enter your site’s domain and select Add. Enter it without https:// and without paths. To cover every subdomain use the *.example.com form.
While the list says no domains are configured, the widget answers on no site at all.
5
Save
Select Save changes.
6
Copy the code
In Installation snippets, under Install with script, select Copy.
The Copy button sits to the right of Install with script.
The snippet looks like this. Always copy the one from your own account — it carries
your agent’s id.
Send the snippet to whoever manages your website and ask them to install it on the pages
where you want the widget to appear. That is the shortest path, and you touch nothing.If you manage the site yourself, paste the code right before the closing </body> tag on
each of those pages. It looks like this:
In Eva’s Install tab, use the platform selector before copying the snippet. It takes you
to the right flow; this article keeps a short reference for where to place it. First
authorize and save your domain in Eva, and always paste the snippet copied from your own
agent.
Shopify — if the store is connected to Eva, select Shopify and choose Activate in
your theme. Eva opens the current theme editor with Eva’s app embed
ready to preview; save the theme, open the storefront, and wait for Eva’s installation
status to confirm it loaded. If the button is unavailable or the store uses a legacy
custom app, keep the snippet path: go to Online Store > Themes > … > Edit code,
duplicate your theme, open layout/theme.liquid, and paste the snippet immediately
before </body>.
WordPress — use your theme’s or header-and-footer-code plugin’s footer setting. The
location varies by theme; Eva’s selector points you to the flow for your site.
Wix — go to Settings > Custom Code, add the snippet to all pages, and choose Body - end.
Squarespace — open Code Injection, paste it in Footer, and save.
Webflow — go to Site settings > Custom code, paste it in Footer code, save, and
publish your site.
Tienda Nube — connect its native Google Tag Manager integration, then add the snippet as a
Custom HTML tag in Google Tag Manager and publish the container.
Another platform — look for custom code, scripts, or a footer area and paste the
snippet before </body>. If you cannot find it, use Eva’s selector to share the
instructions with your developer.
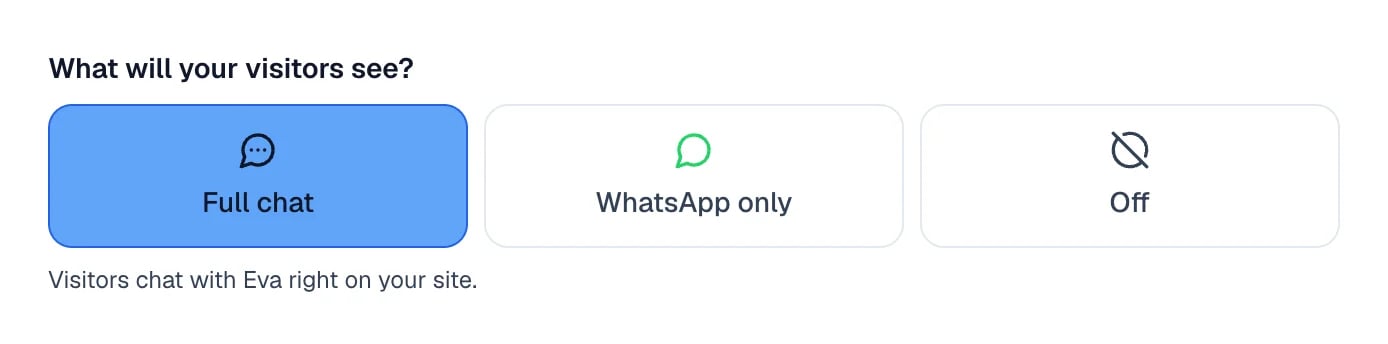
At the very top, the widget screen asks What will your visitors see? and offers three options. The choice shows in both tabs and changes what can be configured.
The chosen option turns blue and explains underneath what it means.
Full chat — your visitors talk with your agent inside your site.
WhatsApp only — a button opens your WhatsApp. There is no web chat.
Off — nothing appears on your site. Existing conversations are kept.
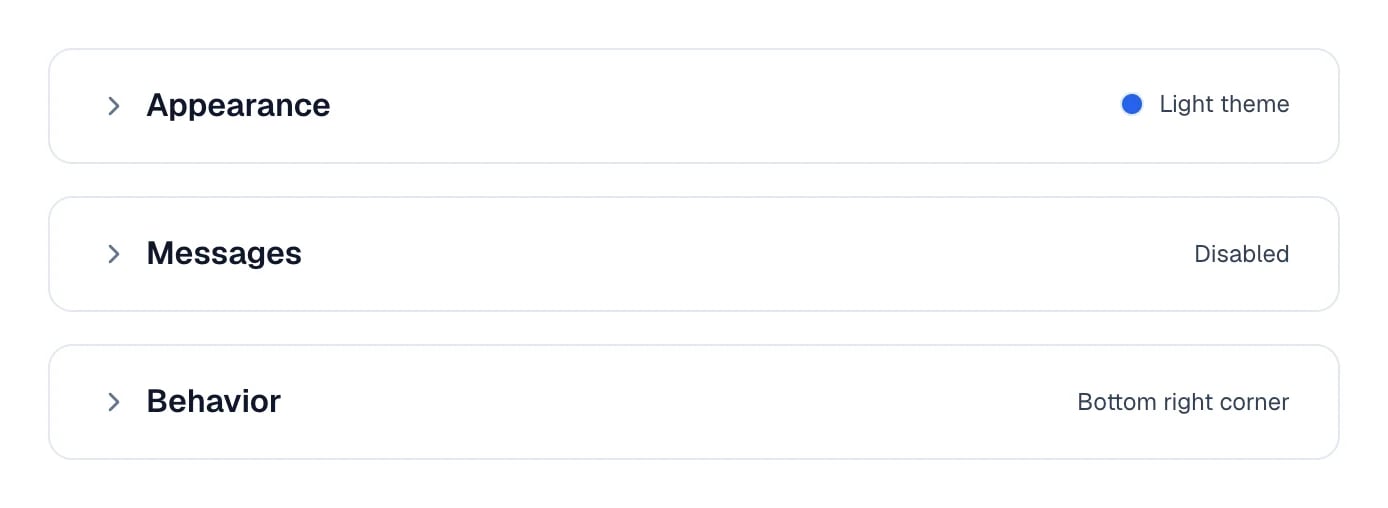
With WhatsApp only or Off, the style settings are hidden because they no longer apply.
Publish the changes, open a page on your site, then return to Eva’s Install tab. The
installation status confirms when the widget has loaded. With Full chat, the bubble
appears in the corner you chose and your agent responds when you write. If you selected
WhatsApp only, the status confirms that mode and the button opens WhatsApp instead of web
chat.